
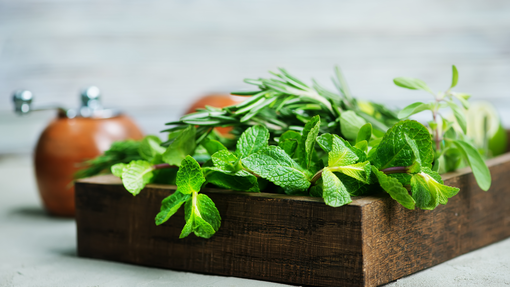
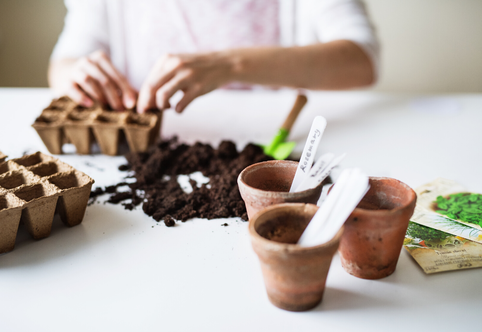
 Today's post is from garden coach, Sara, from Revival Garden Co.If you have Tiana as your nutritionist as I do, you know a big part of creating a menu for the week is finding any way to make your daily 8-10 cups of veggie servings more interesting. And herbs are THE BEST way to do that. I can roast a huge plate of veggies and then use my homegrown herbs to change the flavor profile to be any number of ethnic cuisines. Plus, nothing feels quite so luxurious as walking out to your back door to snip sprigs of fresh herbs from your herb garden. Tiana asked me to come here to teach you how to grow herbs that are typically more expensive and not as easy to store in the fridge for a week. I don't even want to think of how much cilantro and basil alone I have let wilt in my fridge before using it. I'm going to guess it's in the range of hundreds of dollars worth and drives my husband insane. Oops! The very first one that came to mind is our beloved basil. Few things make me cringe more than having to go to the grocery store to buy 2 slightly wilted sprigs of basil packed in a tiny plastic container for $5! Don't even get me started about the packaging of some herbs, let alone the cost. Once you how to grow basil and you experience just how easy and prolific is it, you will never want to spend money on that sad little container of basil leaves again. 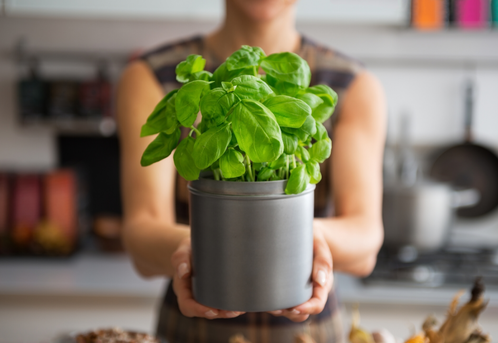 HOW TO GROW BASIL FROM SEED Basil is a pretty simple plant to grow from seed once you have the technique down. The great thing about growing from seed is that you have so many more choices of varieties to grow than your local garden center will offer as transplants. If this feels like a fun project you'd want to try, here's how you do it:
 A NOTE ABOUT HARDENING OFF SEEDLINGS Gardeners call the process of preparing baby seedlings for life outside, "hardening off". I have to admit that this is my least favorite job of starting seeds, but it pays off. When your seedlings live inside they are living a pampered life and will suffer and even die if they are exposed to strong sunlight and wind all of a sudden. So, take your baby seedlings outdoors in the late afternoon for a few days and let them experience the setting sun for a few hours, then bring them inside. After that, if the nighttime lows are above 50 you can leave them outside overnight. Once they have spent the night outside, you can expose them to a few hours of morning sun before you place them in a shady spot for the heat of the day. In about a week you'll have seedlings that are ready for full-time life outside. CAUTION: I've done some serious damage to my seedlings when I've rushed this process, so be patient and take it slow while hardening off your plants. What if growing seeds isn't for you or you want to plant basil plants now? No problem! Most garden centers are selling basil transplants (aka basil seedlings) that are ready to be planted right into your garden or a container right now. While you won't have as many options as you do when you buy basil seed packets, you do get the instant gratification of getting a plant in the ground right away. I'd suggest buying transplants and starting seeds at the same time! Then you can enjoy your basil plant while the seeds are germinating and growing up. 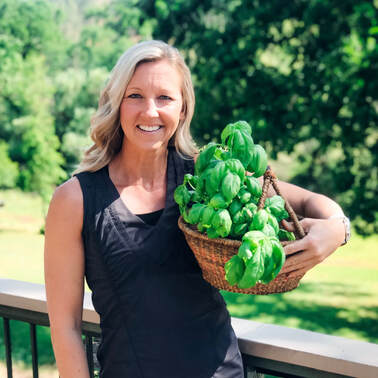 ONGOING CARE FOR BASIL Soil: Basil likes moist, fertile soil.
Water: Basil is not drought tolerant. Hardiness Zones: Basil is an annual, so it grows from late spring until it is killed by the first frost. For me this is October or November. Days to Maturity: 68 Days (This means the number of days from when you seed your basil to when it is likely to begin flowering.) HOW TO HARVEST A happy basil plant can get BIG, sometimes up to 2' around. It's a sight to behold. You can begin some light-harvesting of your basil plants once they have become pretty established, around 8-12" tall. Harvest your basil leaves early in the morning, if you can, when its cooler out. This will ensure you won't have wilted leaves. If you start to see flower buds begin to form, you'll want to do a full harvest which means cutting the entire plant to 4-6" above the ground. This harsh cutting will encourage the plant to flush out a second growth of leaves. 
BASIL FOR CUT FLOWER ARRANGEMENTS If you don't know me, you must know that I have an undying passion for growing cut flowers and creating arrangements. I grow massive amounts of basil every year because I love to cook with it, but it is also an excellent foliage plant in a flower arrangement. If you want to try using your basil for flower arrangements, you'll want to harvest when stems feel pretty firm or as soon as flower buds begin to form. Like I said above, harvesting in the cool of the morning is best for basil, whether you want to eat it or arrange with it because the leaves are prone to wilting in the heat once cut. Take a vase full of cool water with you and place your stems directly into water to rest a few hours before arranging. Basil has a pretty good vase life. You can count on stems lasting around 7-10 days. I've even had it last long enough to start growing roots, which you can put in a pot with soil and keep well watered to propagate another basil plant. Cool, huh? If you choose to let your basil flower for arrangements or just as a flowering bush in the garden, just know that this may shorten it's life span a bit, but to me to worth it. Plus pollinators LOVE basil flowers. 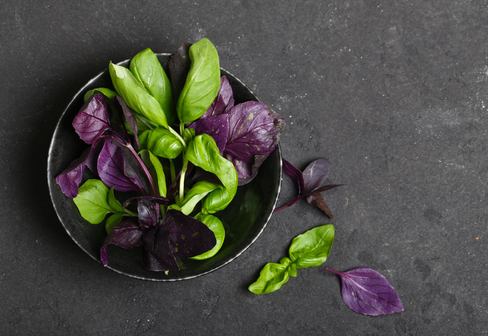 VARIETIES I LOVE Genovese: Probably the most well-known basil variety for cooking and making pesto. It has large luxurious leaves and an intense basil flavor. Mrs. Burns Lemon: Newer to me, but I'm loving it so far. It has a clean, citrusy scent mixed with the hints of basil. I'm excited to make basil with this variety since I prefer a lemony pesto more than any other style. She's got bright green leaves and white flowers that are gorgeous in arrangements. An arrangement with Mrs. Burns Lemon fills that room with that aromatic lemony scent; a perfect Summer through Fall bouquet option. Sweet Thai: If you love to cook Thai food, try this one! This plant is known for it's intensely spicy, anise/clove flavor that is a perfect complement to Thai and sweet dishes. Sweet Thai basil has medium green leaves and beautiful purple stems and blooms, making it a great edible landscape choice. Dark Opal: A purple-leaved basil that looks almost black that has clove-like scented leaves. I love this one for iced teas, cocktail garnishes, and arrangements. Well, have I convinced you to give growing basil a try? Tell me how you like to use basil in your home? Is there a certain variety that you are most excited to try? 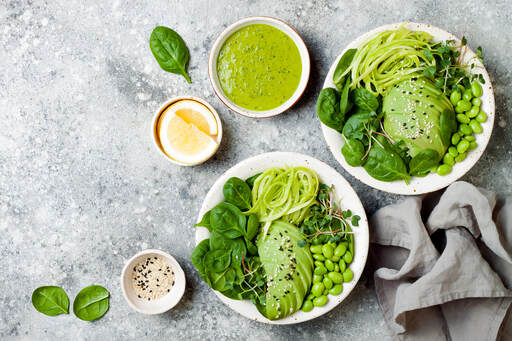 Tiana's Favorite Basil RecipeFresh herbs are a fantastic addition to many dishes, but I especially love them for dressings, marinades and dips.
One of my favorite recipes comes from Beth Manos Brickey, FNTP of Tasty Yummies. FIVE-MINUTE GREEN GODDESS DRESSING Ingredients -1 avocado -1 cup packed fresh basil -1/2 cup packed fresh parsley -1/4 cup organic olive oil -1/4 cup water (or more as needed) -3 tbsp avocado based mayonnaise -1 large clove of garlic -2 tbsp fresh lemon juice -1 tbsp apple cider vinegar -1/2 tsp sea salt -black pepper to taste -1 jalapeño, ribs and seeds removed, optional Instructions 1. Add all ingredients to a high speed blender or small food processor. Pulse a few times, then blend until well incorporated and super creamy. Add more water as needed to reach your desired consistency. This can be served as a salad dressing, dip, sauce or spread! Get creative with it!
0 Comments
Leave a Reply. |
AuthorTiana Rockwell is a certified nutritional therapist, avid endurance athlete and dark chocolate lover. She believes that by eating REAL food, we can balance our body and reach optimal health and wellness! Archives
May 2022
Categories
All
|
 RSS Feed